
Note: This article is for adding center staff roles as a sponsors of centers. If you operate in an independent center or are a sponsored center user needing to set up user roles and permissions, see Set User Permissions.
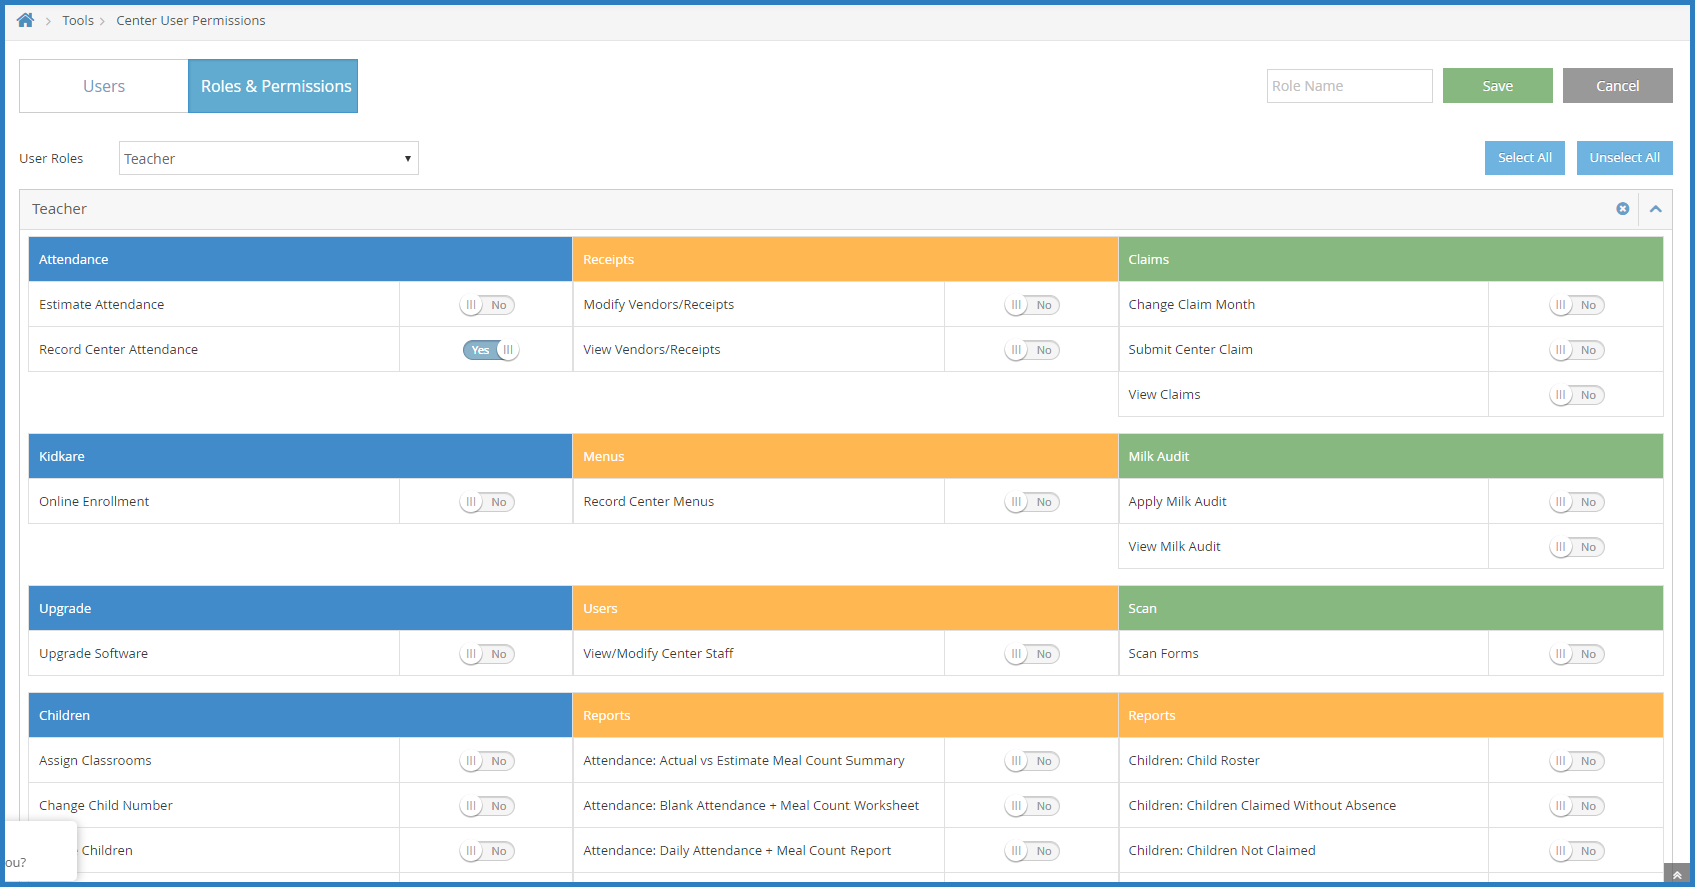
Each user role is a combination of certain permissions settings that you can customize. If you customize one of the existing user roles, the word -Custom is added to the end of the role to designate that you have edited the permissions for that role. For example, if you customize the permissions for the Teacher role, the role becomes Teacher - Custom. You can also add new user roles that you can then assign to new and existing users.
Create Roles
- From the menu to the left, click Tools.
- Select Center User Permissions.
- Click the Roles & Permissions tab.
- Click Add Role.
- Click the Role Name box and enter a name for this role.
- Click Save.
- Next, use the sliders next to each permission to enable it for this role. All permissions for new roles are set to No by default.

Edit Roles
- From the menu to the left, click Tools.
- Select Center User Permissions.
- Click the Roles & Permissions tab.
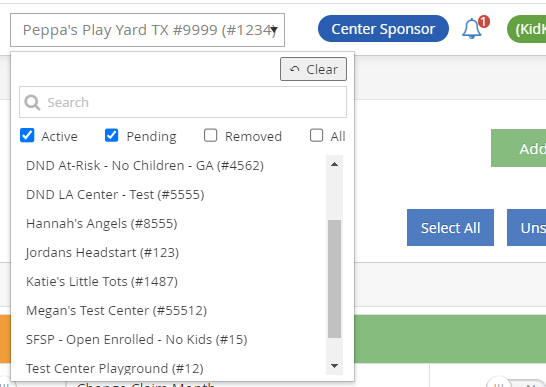
- Select the Center you want to see roles for by using the center drop down in the top right corner of the screen.
- In the User Roles drop down, select the role you need to edit permissions for.
- Make adjustments to the role permissions by toggling permissions to Yes or No based on the changes needed.

- Once adjustments have been made, they will automatically save for all future center staff that get assigned this role.
- In order to apply the permissions updated to all staff at the selected center that are currently assigned this role, click the
 button the the right of the User Roles drop down.
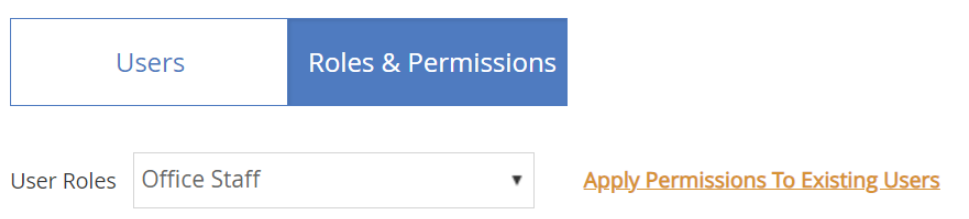
- A confirmation pop up appears. Click Yes.


 button the the right of the User Roles drop down.