
Use this section to track vehicles and other large purchases for tax purposes
To manage all Large Inventory:
- From the menu to the left click Accounting, then Expenses.
- The Expenses screen opens.
- Click the Large Inventory tab towards the top right of the page.
- The Large Inventory screen opens.
- From here you can search or filter through your current list of Large Inventory items.
- Search: Start entering in any data found on the invoice(s) you're looking for to automatically filter the search results.
- Filters:
- Date or Date Range the item was added
- Item: A drop down of all added items
- Purchase Price: The amount the item was purchased for
- Export: Export data to an Excel or CSV File. Only the data currently being populated based on the selected filters and columns will be exported
Add Large Inventory Item
- From the menu to the left click Accounting, then Expenses.
- The Expenses screen opens.
- Click the Large Inventory tab towards the top right of the page.
- The Large Inventory screen opens.
- Click
 in the top right corner.
 - Select the type of Large Inventory the new item is.
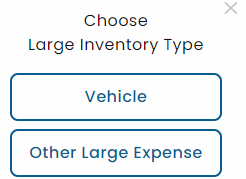
- If you select Vehicle, complete the fields in the Add Vehicle screen. If you selected Other Large Expense, skip to Step 9.
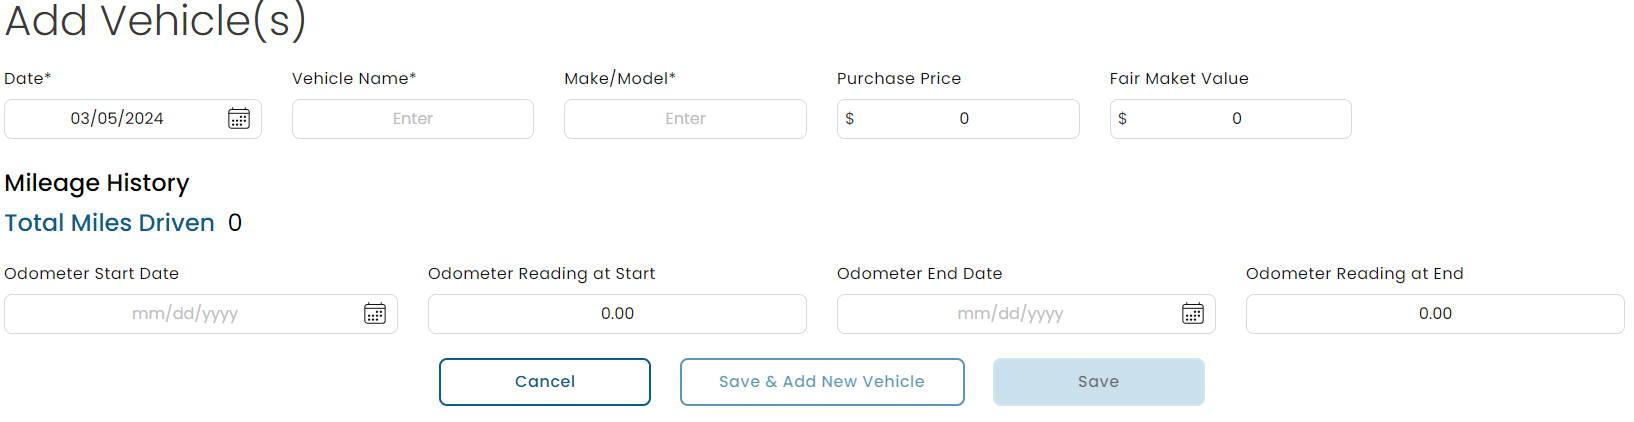
- Date: Date you purchased the vehicle.
- Vehicle Name: Nickname to identify vehicle.
- Make/Model: What kind of vehicle is it.
- Purchase Price: The price you purchased the vehicle for.
- Fair Market Value: The price the market would value the vehicle at.
- Mileage History:
- Odometer Start Date: The date you start driving the vehicle for work.
- Odometer Reading at Start:: The odometer reading when you start driving vehicle for work.
- Odometer End Date: The date you stop driving the vehicle for work.
- Odometer Reading at End: The odometer reading when you stop driving the vehicle for work.
- Click
 and return to the Expenses screen, or click
  to save this vehicle and add another one.
 - If you select Other Large Expense, complete the fields in the Add Large Expense screen.
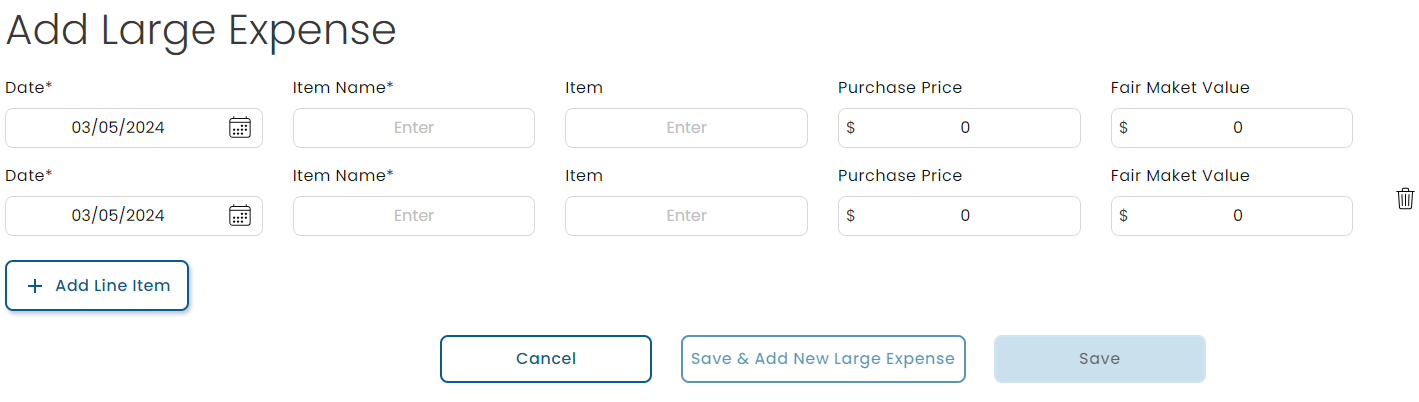
- Date: Date item was purchased.
- Item Name: Nickname to easily identify item.
- Item: What type of item is it.
- Purchase Price: Price item was purchased at.
- Fair Market Value: The price the market would value the item at.
- If you have more than one Large Inventory item to enter, click
 to add multiple items at one time.
 - Click and return to the Expenses screen, or click
 to save this vehicle and add another one.
 in the top right corner.

 and return to the Expenses screen, or click
  to save this vehicle and add another one.
 to add multiple items at one time.
 to save this vehicle and add another one.