
Setting Up the Export
To set up the QuickBooks export:
- From the menu to the left, click Administration.
- Select Manage Policies.
- Click
 next to P. Center Payments.
 - Click next to Policies P.2a - P.2e and enter your QuickBooks account information. Ensure that the account names in QuickBooks match center names in KidKare exactly. Names that don't match exactly could cause errors during the importing process. Extra spaces or punctuation can cause issues.
- When finished, click Save.
Creating the Export File
- From the menu to the left, click Payments.
- Issue payments as you normally would. Ensure that you print and export checks/ACH, even if you are not physically printing checks or vouchers. Clicking Print ensures the file is created.
- Then, select Quick Books Export. The Quick Books Export page opens.
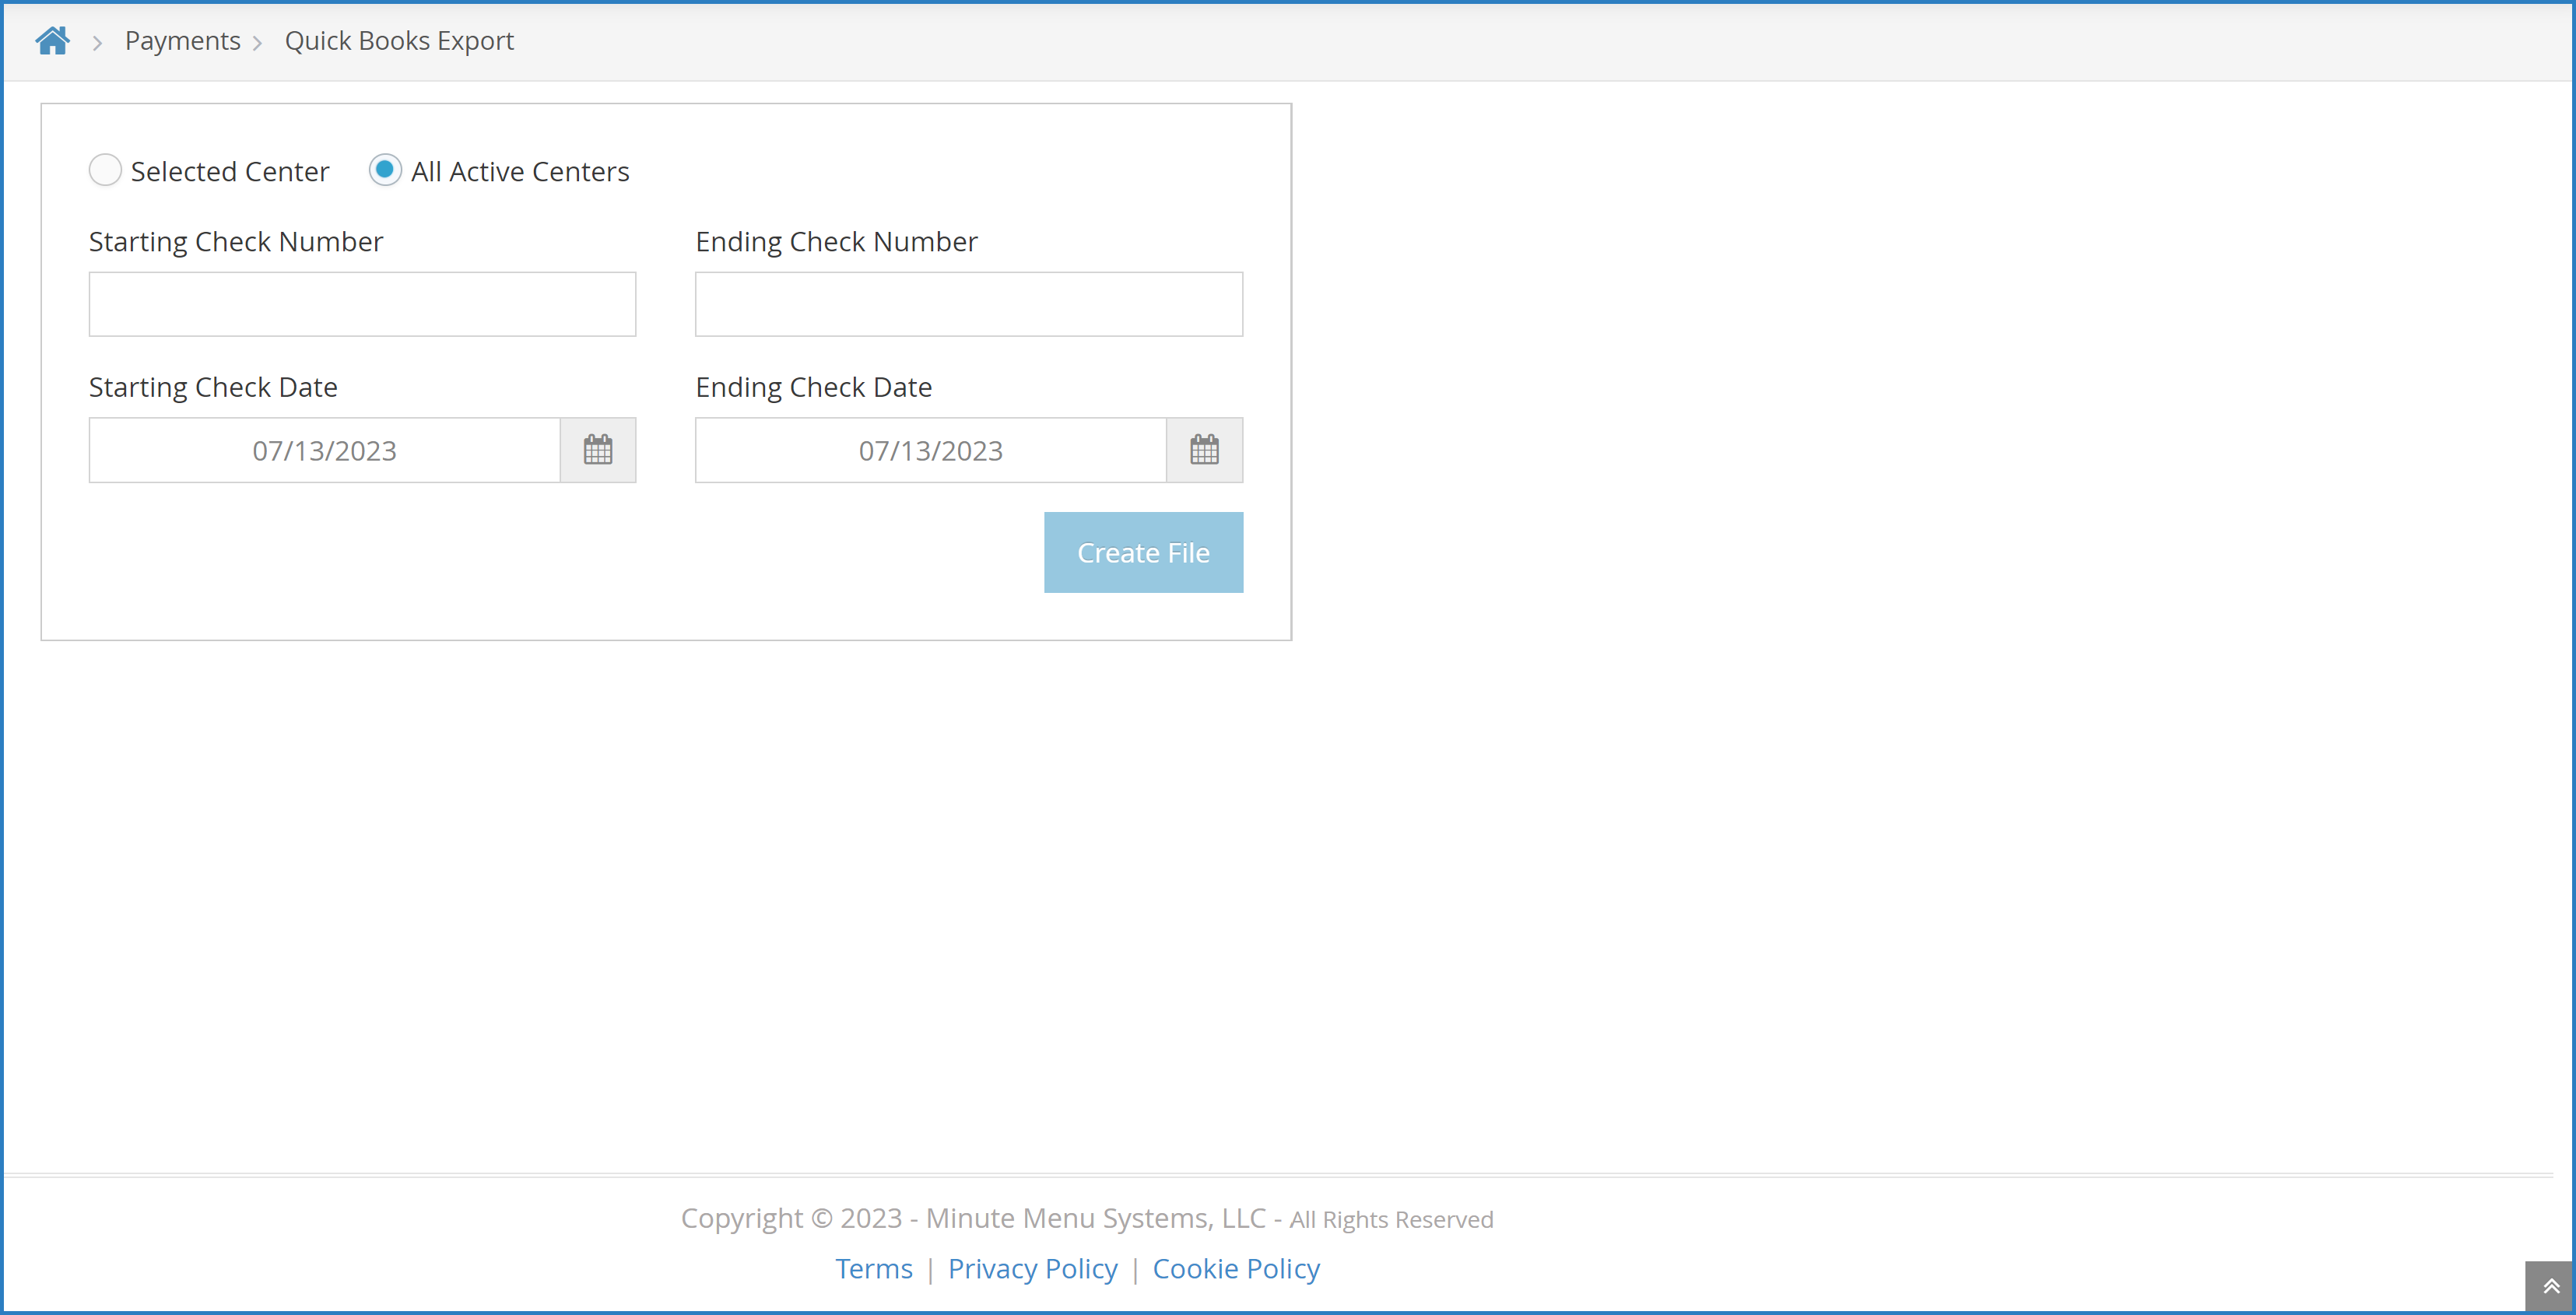
- Select the All Active Centers option or the Selected Center option. If you choose Selected Center, click the Select Center drop-down at the top of the window and select the center for which to create the QuickBooks file.
- Click the Starting Check Number and Ending Check Number boxes and enter starting and ending check numbers.
- Click the Starting Check Date and Ending Check Date boxes and enter the starting and ending check dates.
- Click Create File.

Import the File into QuickBooks
- Open QuickBooks.
- Click the File menu, select Utilities, Import, and select IIF File.
- Browse to the location in which you saved the Minute Menu Export File.
- Click Open. The payment information imports into QuickBooks.