
To view a list of all your contacts, click Contacts from the menu on the left. From here, you can use the filter and search options to find and organize contacts easily. Filter options include searching Guardians vs Agencies, payment permissions, and Inactive vs Active. 
- Search: Start entering in the Participants name to automatically filter the list by what you enter.
- Contact Filter Options
- Filter by Contact type
- Filter Contact by status
- Active: Participants who are still in your care and a part of your program. Participants must be active to be added to an Invoice.
- Inactive: Participants who are no longer in your care.
- Both.
- Sort by
- Alphabetical by Last Name, First Name.
- Alphabetical by First Name, Last Name.
Add Contacts
You can add a Contact two different ways in Parachute. The first way is to add a Contact directly from the associated Child Profile. You can also add Contacts directly into the contact page.
- From the menu to the left, click Contacts.
- Your Contacts page opens. Click
 in the top right corner of the screen.
 - Select if you are adding a Guardian or an Agency.
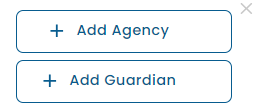
- Guardian: This is meant to indicate the payer has a personal relationship with the child. This payer type can still be used even if the Payer is not a legal guardian of the child.
- Agency: This payer type can be used for onboarding 3rd party billers or agencies that provide funding for a child's care.
- Enter the required Contact fields such as Name, Email/Phone.
- Select the child this Guardian/Agency is affiliated with in the Associated Child drop down.
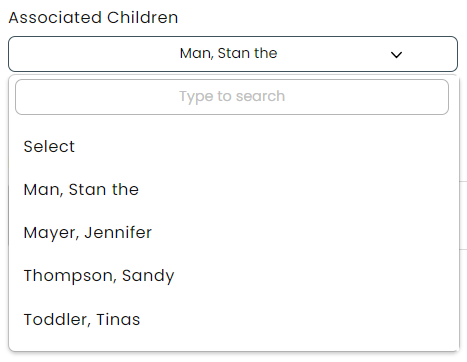
- If the Guardian/Agency is associated with multiple children, click
 and add all children associated with this contact.
 - Click one of the Save options.
- Save & Add Next Contact: Use this to add multiple contacts quickly by saving and opening a new blank screen to complete for a new contact.
- Save: This saves the contact and takes you directly to the contact profile that was just created.
 in the top right corner of the screen.

 and add all children associated with this contact.
Add Contact Photo to Profile
- From the Contacts screen, click on the name of the contact you are adding a photo for.
- Click
 in the top right corner.
 - Click the
 icon next to the contact name to add a photo.
 - Select the photo to add from your files/gallery on your device and click Open.
- The photo loads into the contact profile.
- Click Save.
- To delete the photo, click Delete under the image and it will be removed and set back to the default.
 in the top right corner.
 icon next to the contact name to add a photo.
Update Contact Status
- From the Contacts screen, click on the name of the contact you are updating status for.
- Click the
 button in the top right corner.
 - The Status option appears underneath the contact name.
- Here, you have the option to set the status to Active or Inactive.
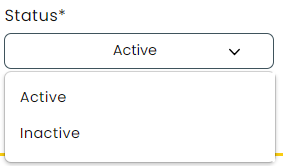
- Click Save.
 button in the top right corner.
View and Edit Contact Profiles
- From the Contacts screen, click on the name of the contact you are needing to view/edit.
- Click the button in the top right corner.
- Edit any information that needs to be updated under the Invoices or Profile Details sections.
- Click Save in the top right corner.
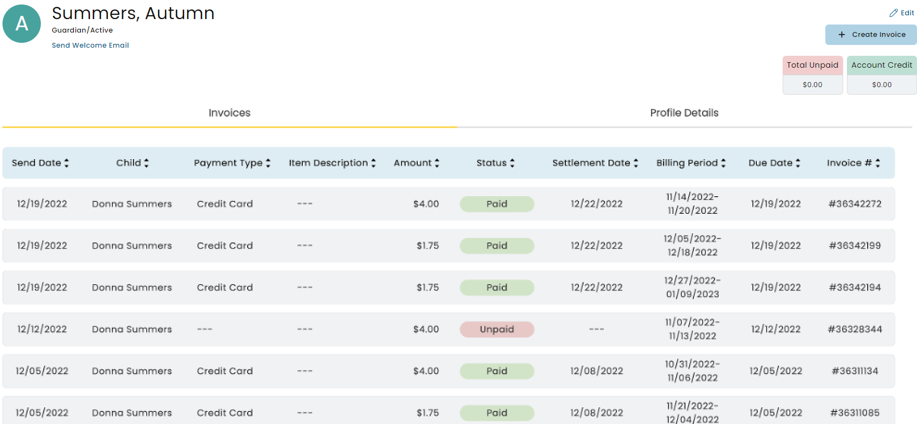
Invoices
The Invoices tab in a contact profile gives a view of all invoices associated with the contact, allows invoices to be printed, resent or created, as well as showing important balances. See a list of all action items available on this screen below.
- Total Unpaid: This is the total balance of Invoices for this Contact that have not yet been paid.
- Account Credit: This is the total balance of Account Credit that has been granted for this Contact, but not yet used.
- Invoices Table: This is a history of all invoices for this Contact.
- Create Invoice: This allows you to create a new Invoice directly from the Contact profile.
- Send Welcome Email: Allows you to quickly send or resend the Welcome Email inviting them to setup their Parent Portal.

Profile Details (Guardian)
- Personal
- Emergency Contact: Is this contact listed as an emergency contact for the associated children?
- Permission to Pay: Required to be marked "Yes" in order to generate an invoice for this Contact.
- Permission to Initiate Payments: Allows Payer to spend payments that are not associated to an Invoice.
- Phone Number OR Email address is required.
- Address
- Primary Language
- Additional Language
- Authorized to Pick Up Child
- Enrolled in Autopay: This is updated by the Payer depending on their settings.
- Notes: Internal notes related to the Payer.
- Associated Children:
- Click the "+" to add additional children this contact is associated with.
- If you associate a Contact with a Child in the Child's Profile you will see the associate reflected here as well.
- Click the
 next to the child to remove them from the contacts associated children list.
 - Click the
 to add a picture of the child.
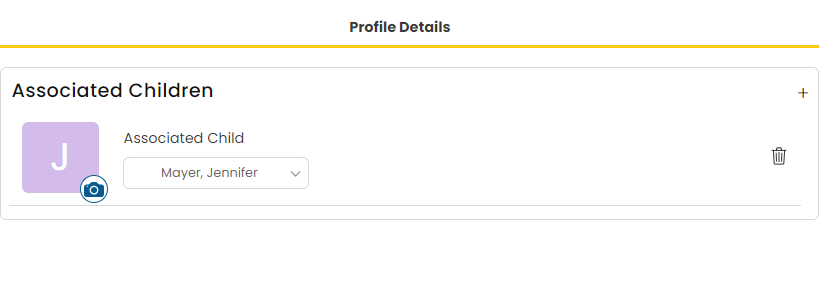
- Click the "+" to add additional children this contact is associated with.
 next to the child to remove them from the contacts associated children list.
  to add a picture of the child.
Profile Details (Agency)
- Personal
- Permission to Pay: Required to be marked "Yes" in order to generate an invoice for this Contact.
- Permission to Initiate Payments: Allows Contact to spend payments that are not associated to an Invoice.
- Primary Contact: Enter first and last name of the Agency's primary contact.
- Phone Number OR Email address is required.
- Address
- Enrolled in Autopay: This is updated by the Payer depending on their settings.
- Notes: Internal notes related to the Payer.
- Associated Children:
- Click the "+" to add additional children this agency is associated with.
- Click the next to the child to remove them from the agency associated children list.
- Click the to add a picture of the child.